Plumbing - Install a Tankless Water Heater
A tankless water heater can be installed near the old water heater's location to minimize new water and gas pipe runs. It takes up far less space than a standard tank heater. The unit shown on the following pages is a gas fired condensing , which requires two vent pipes;non-condensing units have only one vent pipe. Vent pipes run outside the house at a downward slope .There are connections and valves for a gas supply, a clod water supply, and a hot water line to the house ,and the unit can simply be plugged into a 120-Volt electrical receptacle.


Gas fired condensing unit


Position the water heater away from combustible materials and where it can be easily accessed for servicing. Mount the unit securely to a wall using the brackets provided, driving screws into studs. If the wall is masonry, use masonry screws or lag screws with shields.
Plan the path for the exhaust vent pipe and the air intake pipes, which must exit the house at a recommended location (if the exit location is a house wall, the distance from windows and eaves must meet manufacturers' requirements). Cut PVC pipe and assemble with fittings using primer and cement. If you live in a cold climate, install a condensate drain fitting on the air intake pipe at a convenient point for running the drain tube to a floor drain.
Run the pipes out of the house. Make sure all horizontally run pipes slope slightly downward, and support pipes with straps. Using the parts from a "termination kit," cut two holes for the pipes, slip on interior flanges, and run the pipes through the flanges and out the wall. On the outside, attach a termination cap with screws, and caulk the edges.
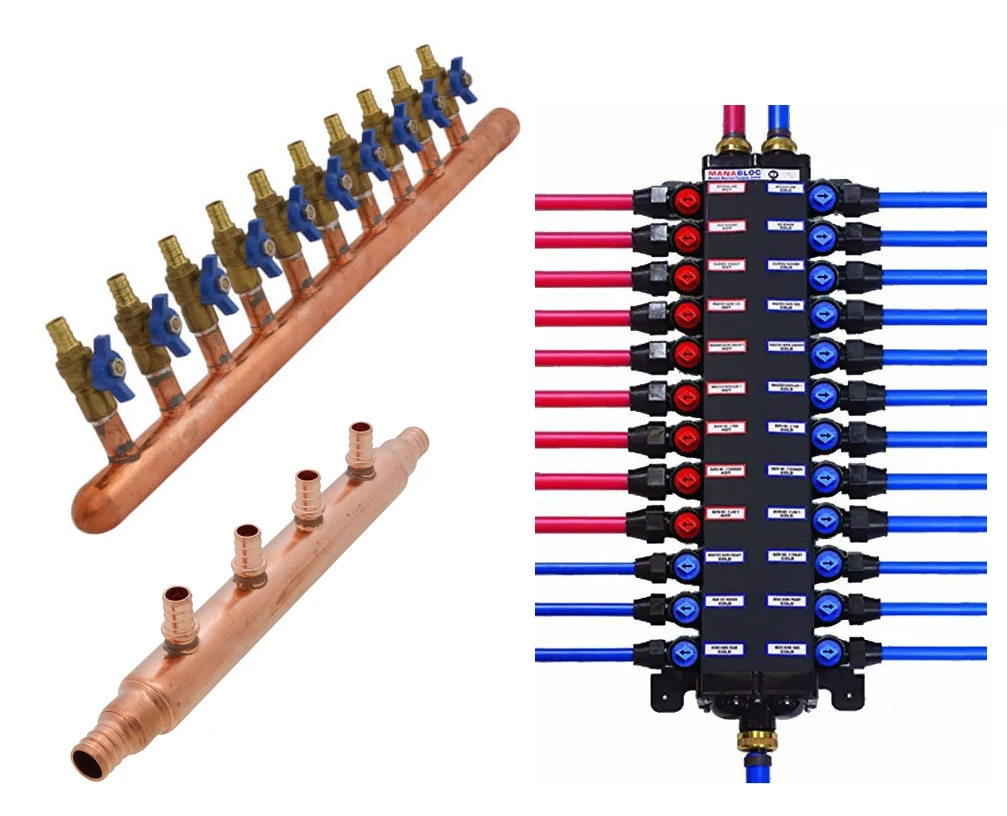
Hook up the cold-water connections. If your house has copper piping, do not use heat to sweat pipes or fittings that are connected to the tankless heater, or you could damage internal parts. Buy the service valve kit made for your unit. Install a cold-water shutoff valve prior to the connection parts. Connect the cold-water parts. Allow them to cool (if you sweated copper), then connect to the unit's valve.
Turn on the valves and run cold water briefly through the unit to be sure water flows freely. Close the unit's shutoff valve, then remove and clean the water heater's internal filter (inset). If there is a good deal of debris, repeat this process until the debris is gone.
Connect the other parts of the service valve kit. This includes another valve for the hot water, as well as a relief valve. Extend the relief valve's pipe down to a point near where it can run to a floor drain. Also run a drain tube from the unit to a floor drain or utility sink.
Connect to the house's hot-water line. Provide for a drain valve as shown, so you can drain the tank for service. As with the cold-water line (step 4), if the pipes are copper, do not heat any pipes or fittings while they are connected to the heater.
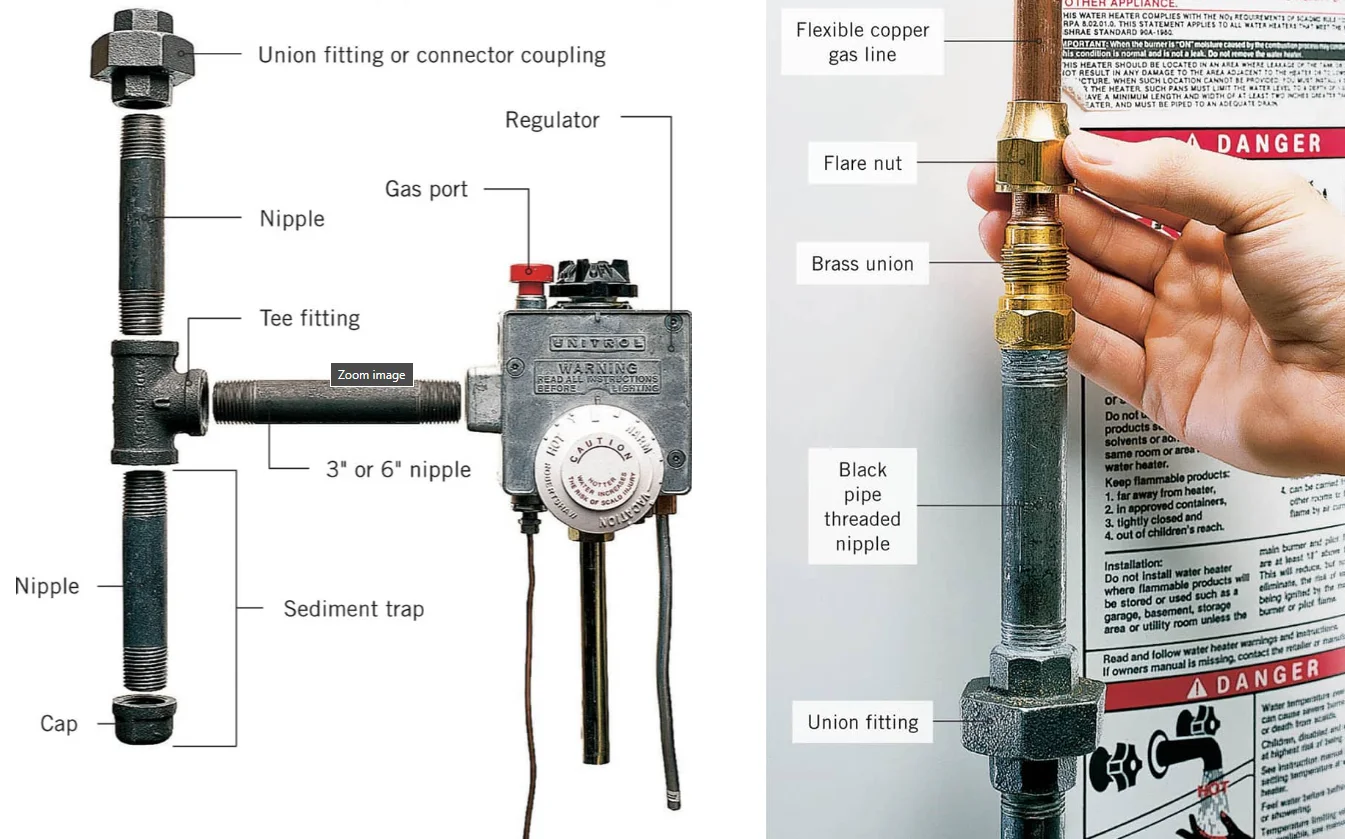
Hook up the gas connection. Working with black gas pipe, install a gas shutoff valve just below the unit, then install a union so you can easily disconnect the pipes for servicing. Connect the other pipes as shown; make sure to include a vertical sediment trap. Turn on the gas and test with leak detector solution to make sure there are no leaks.
Connect the thermostat. Connect two-wire thermostat cable to the unit (inset) and run it to a convenient location for controlling the water heater. Attach the thermostat's plate to the wall and run the cable through it. Attach the wires to the back of the thermostat's cover, and snap on the cover.
Test the water heater. Turn on the water supply and plug the unit into an electrical receptacle. Make sure you know which circuit breaker controls the water heater. When there is a demand for hot water (from a faucet or appliance), the water heater will turn on automatically and an electric spark will ignite the gas.
Program the thermostat. Turn off the gas and water to the water heater by closing the shutoff valves, and follow the manufacturer's instructions for setting the water temperature.
Attention: If venting out a wall is not feasible ,you may need to run the pipes up and out the roof. In this case,all horizontal runs should be sloped upward ,so condensed water runs back into the water heater. In the attic ,join the two pipes together with a wye fitting.Run the pipe out the roof ,slip on adjustable roof flashing,cut the pipe to the approved height above the roof,and add a approved cap to the top of the pipe.