CODE | LED Interactive Chase Effect - Arduino Project 006
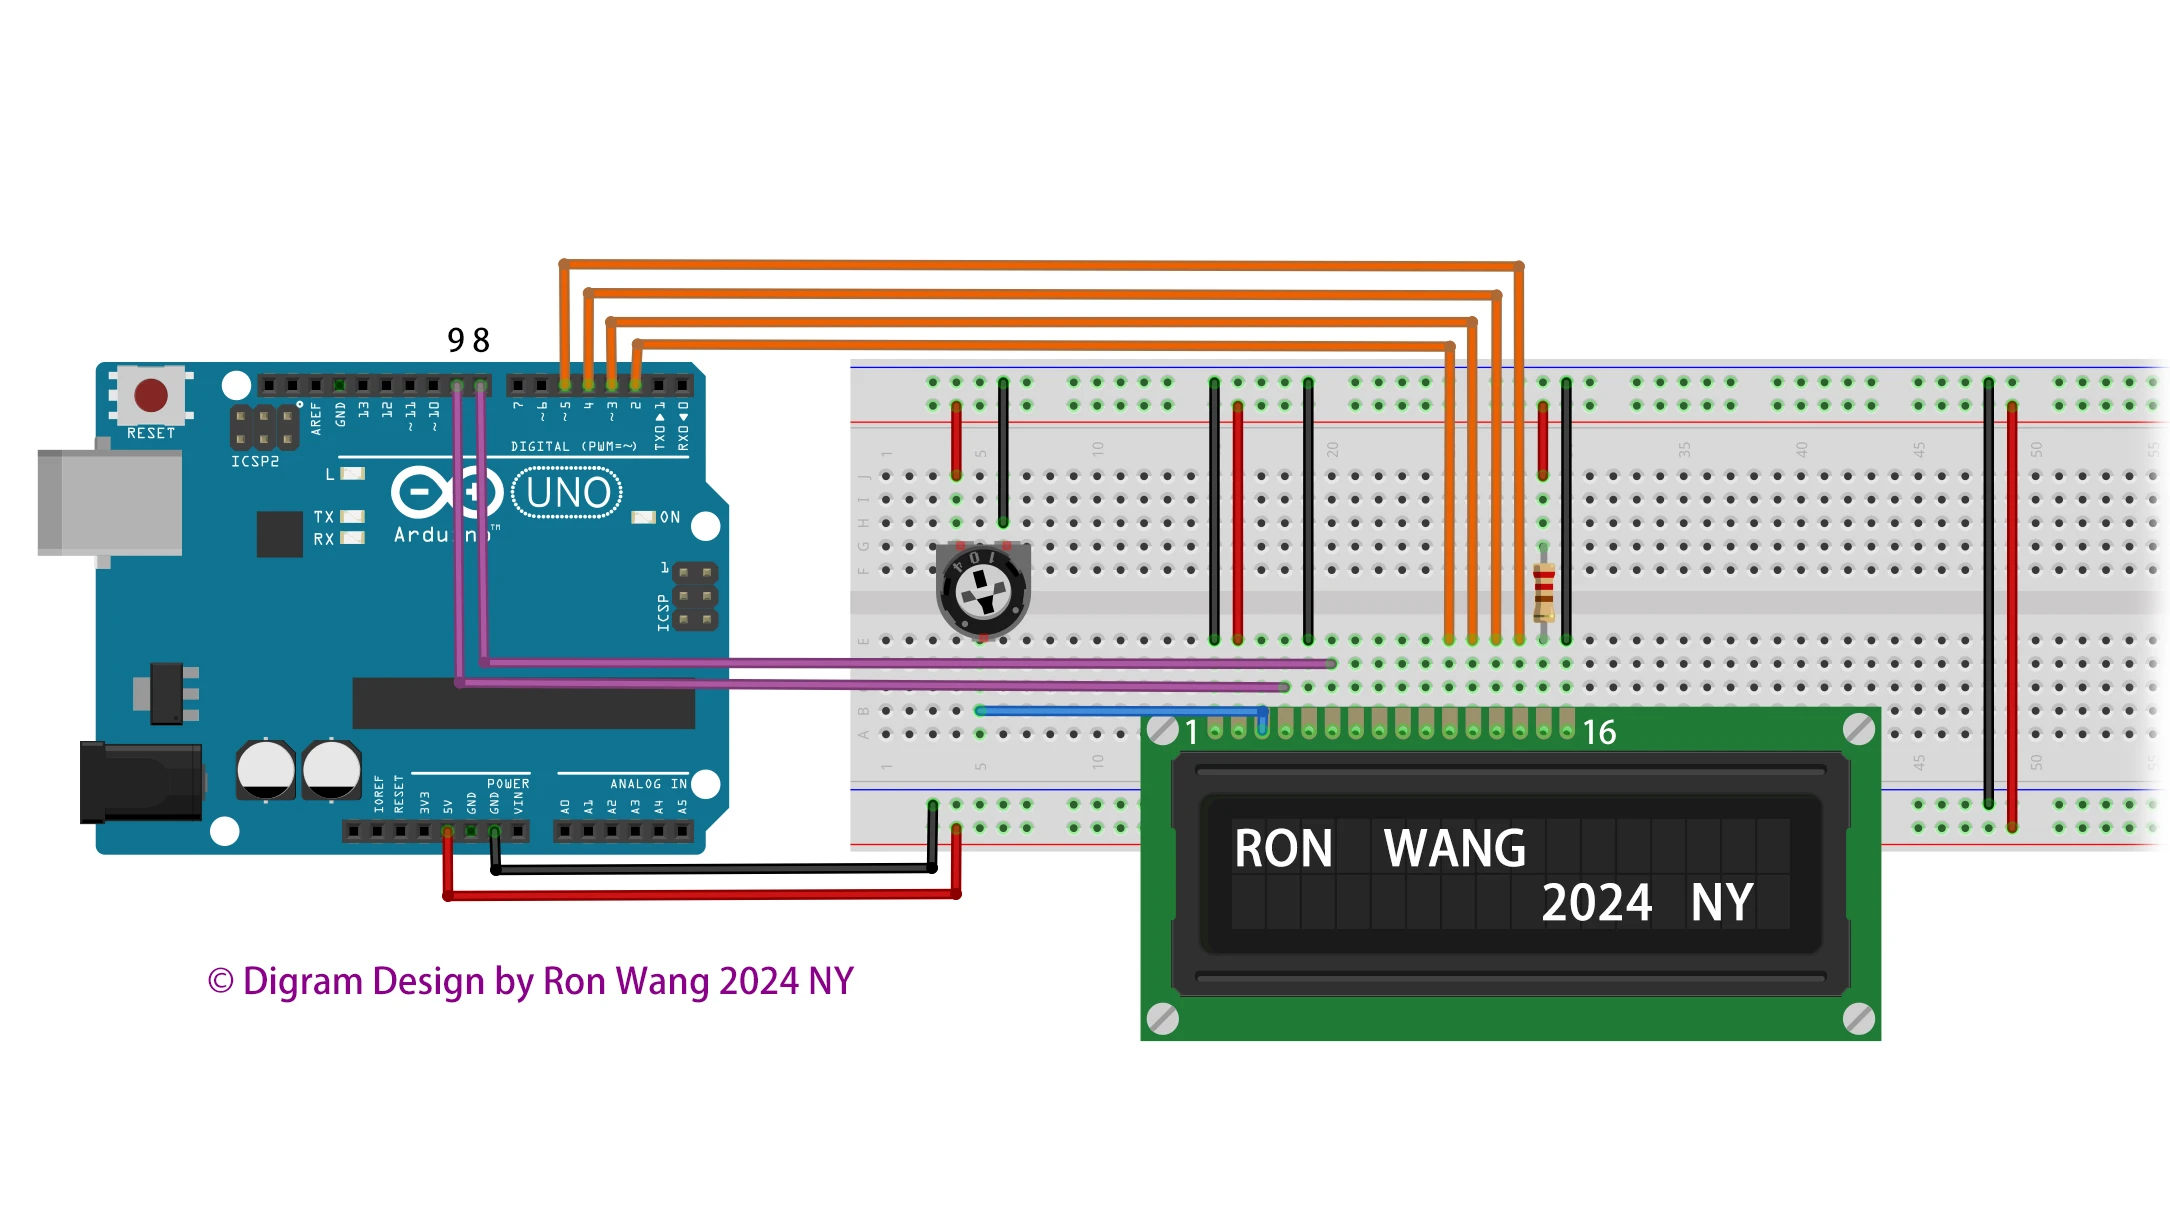
Leave your circuit board intact from Project 5. You’re just going to add a potentiometer to this circuit, which will allow you to change the speed of the lights while the code is running.
项目6 交互式跑马灯Interactive Led Chase Effect

/* Coding Ron Wang
   June 25th 2024
   Autaba support for coding hardware
 */
// Project 6 - Interactive LED Chase Effect

byte ledPin[] = {4, 5, 6, 7, 8, 9, 10, 11, 12, 13}; // Create array for LED pins
int ledDelay; // delay between changes
int direction = 1;
int currentLED = 0;
unsigned long changeTime;
int potPin = 2; // select the input pin for the potentiometer
void setup() {
for (int x=0; x<10; x++) { // set all pins to output
 pinMode(ledPin[x], OUTPUT); }
 changeTime = millis();
}
void loop() {
ledDelay = analogRead(potPin); // read the value from the pot
 if ((millis() - changeTime) > ledDelay) { // if it has been ledDelay ms since last change
 changeLED();
 changeTime = millis();
 }
}
void changeLED() {
 for (int x=0; x<10; x++) { // turn off all LED's
 digitalWrite(ledPin[x], LOW);
 }
 digitalWrite(ledPin[currentLED], HIGH); // turn on the current LED
 currentLED += direction; // increment by the direction value
 // change direction if we reach the end
 if (currentLED == 9) {direction = -1;}
 if (currentLED == 0) {direction = 1;}
}